I recently purchased equipment to try sublimation. I’ve had a cricut for years and have done lots of shirts with cricut cut vinyl, but I hated how sometimes the shirts felt stiff with a large graphic. After seeing so many others jump in, I decided to up my sewing game with more cute custom graphics.
My setup
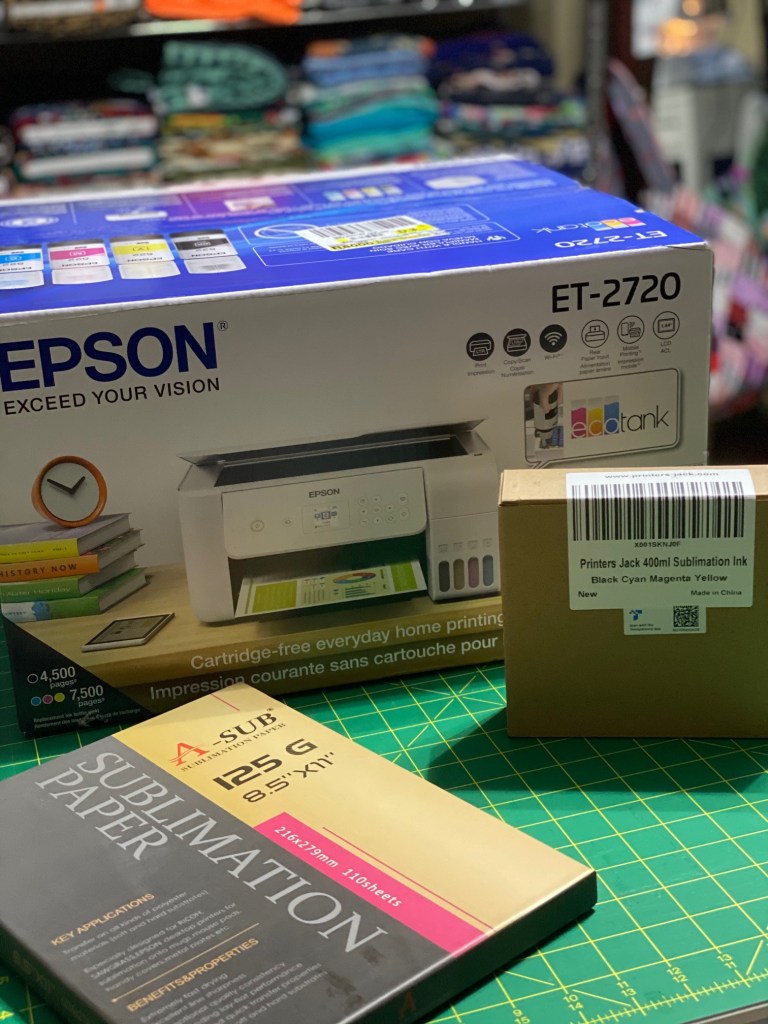
Basic items needed for sublimation printing at home 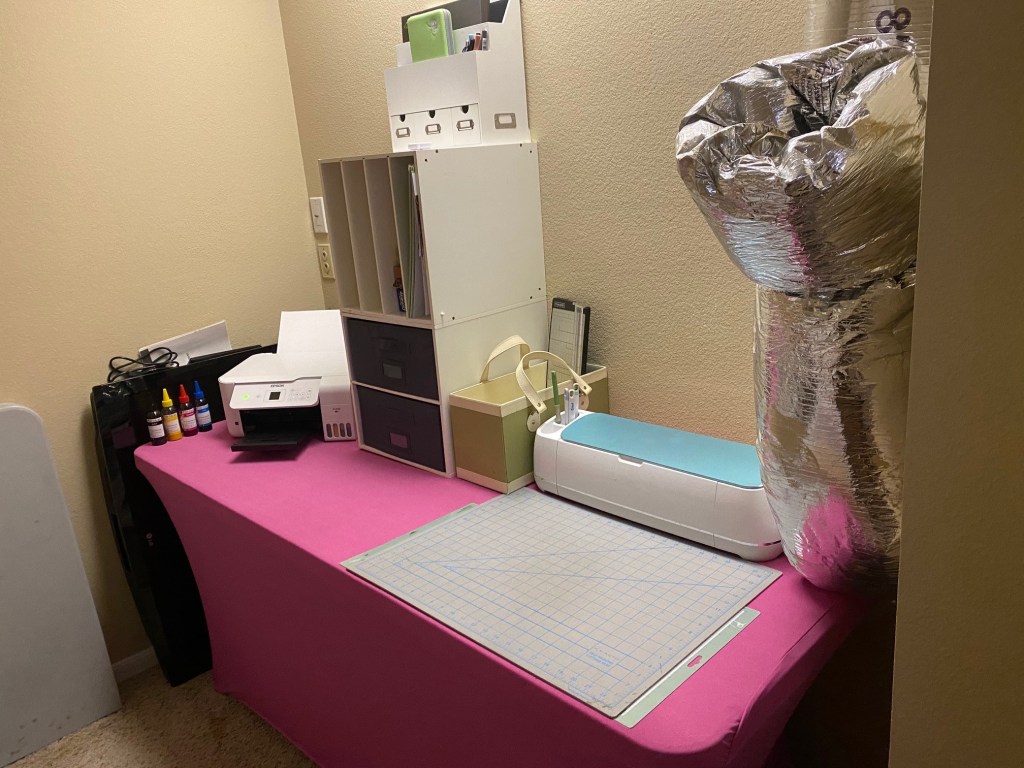
My sewing space was getting cramped so I moved my cricut and new printer into a small storage space.
I followed suggestions from my favorite blogger (Katy @ Wild+Wanderful) on where to begin. She is starting a sublimation 101 series. I know I will be watching and learning. I still need to purchase a heat press, but I have access to one I can use until then.
Click link below to view Wild+Wanderful Blog post
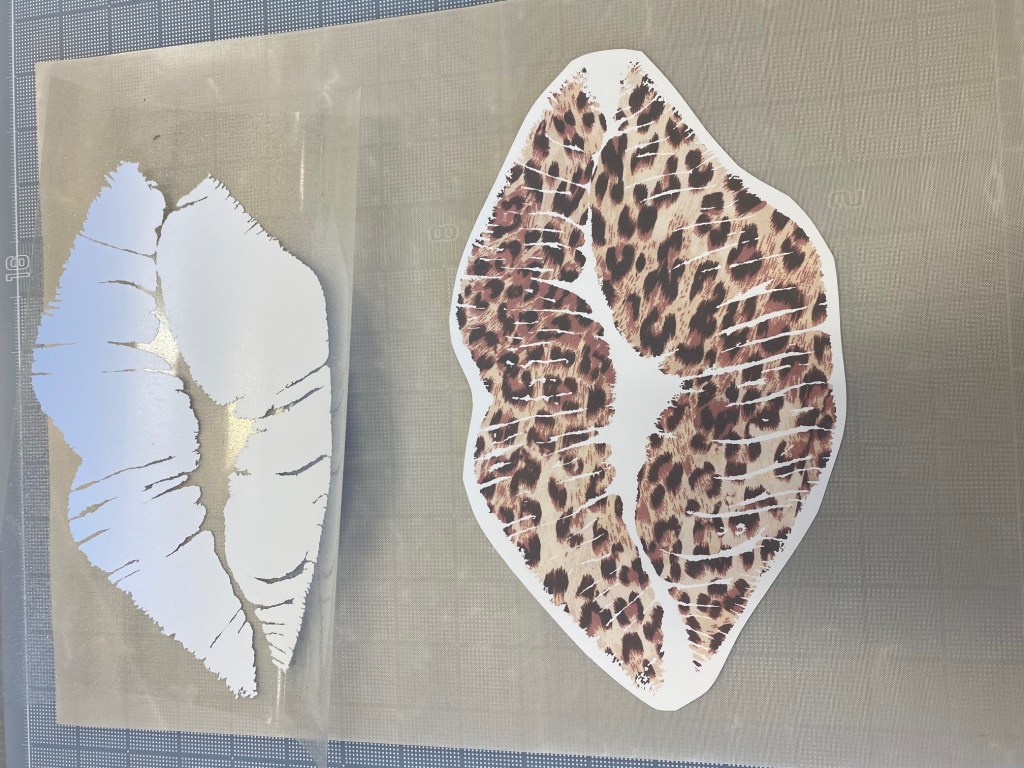
Sublimation printed and cricut cut white glitter vinyl 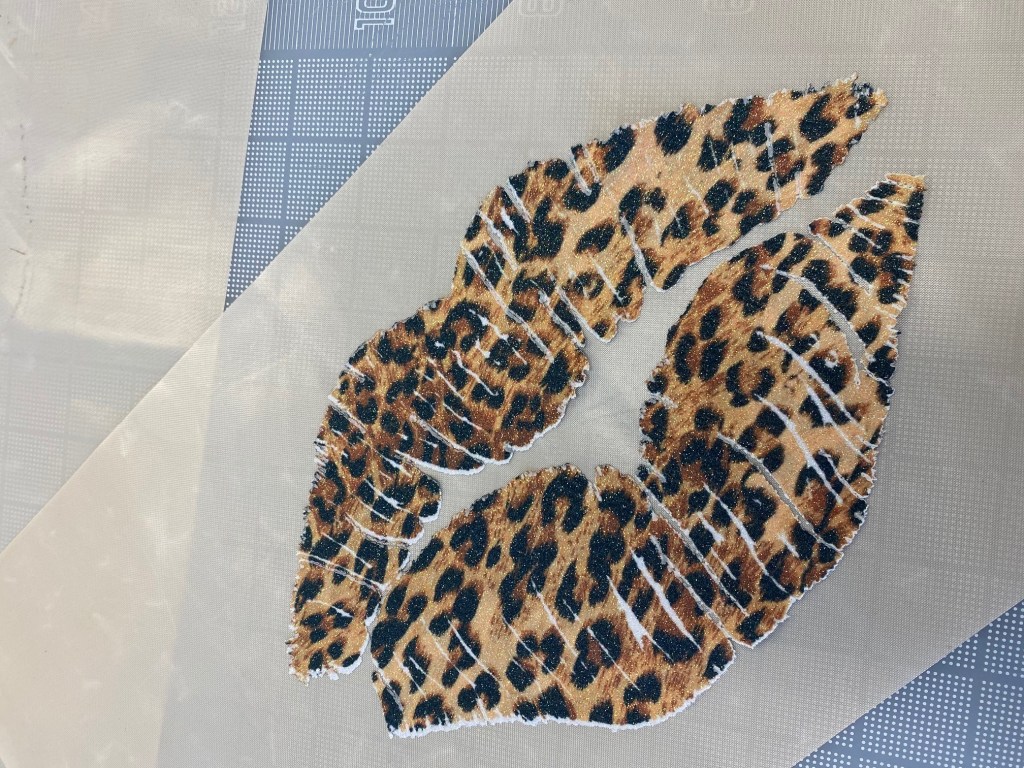
How it looks sublimated onto the glitter vinyl
So, the first shirt I made didn’t have enough polyester percentage I needed. I first had to sublimate onto white glitter vinyl. I then pressed this image onto my premade Relaxed Raglan (P4P).

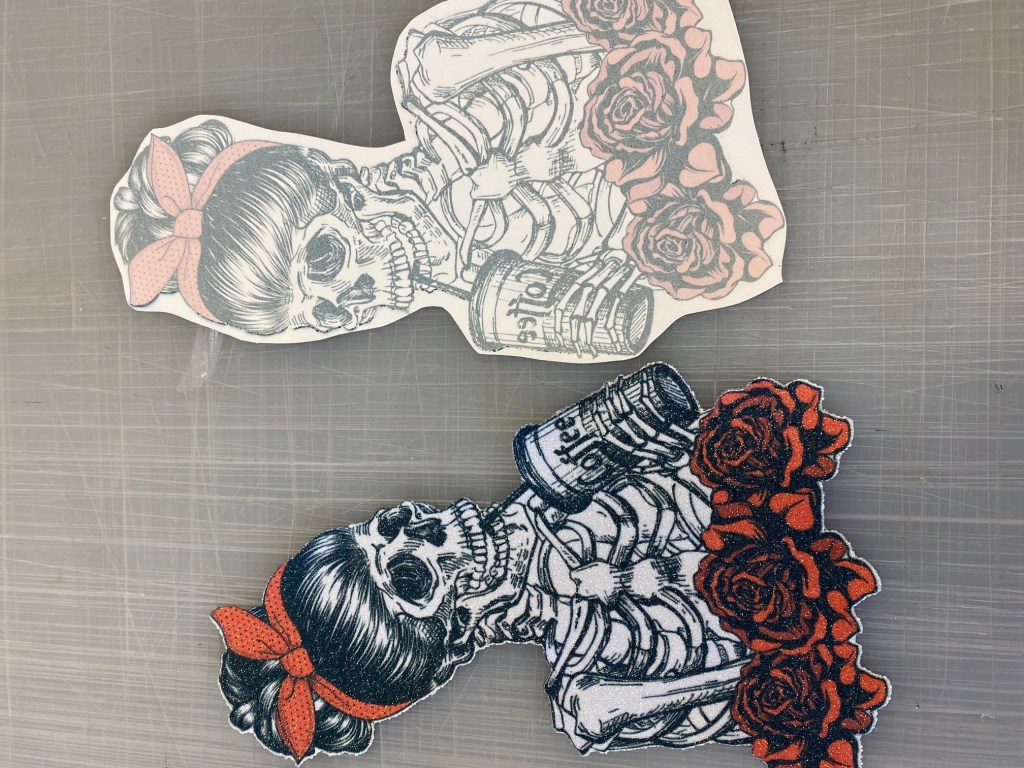
Image from Etsy. Sublimation pressed to cricut cut white glitter vinyl. 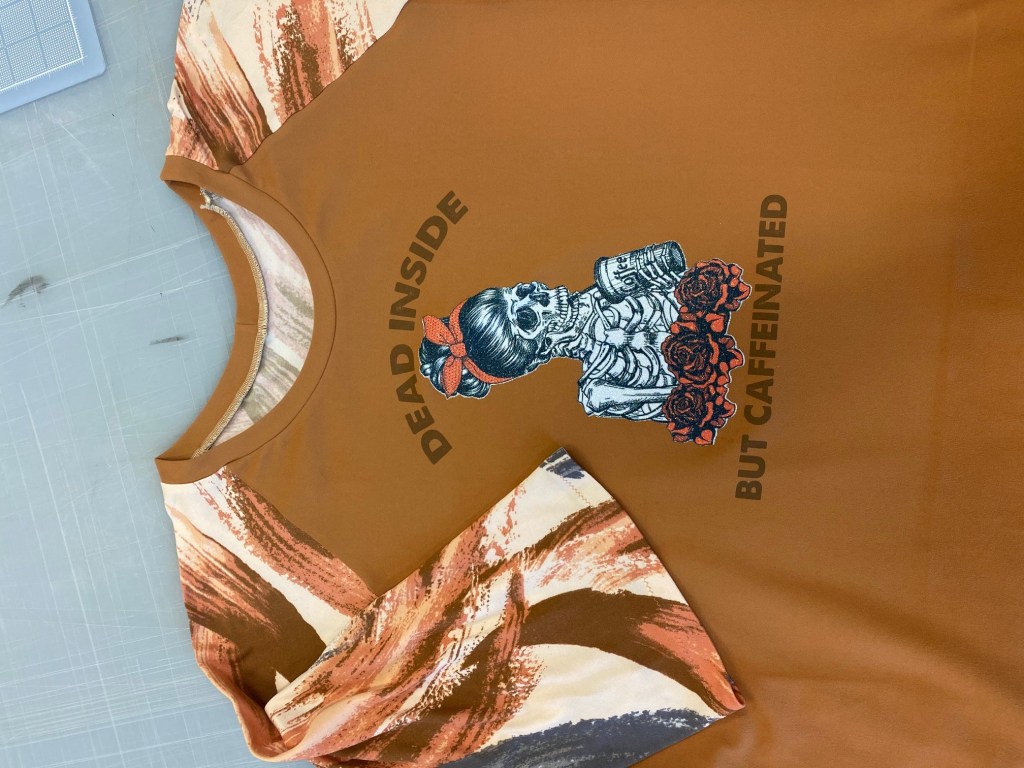
Sublimated on Double Brushed Polyester.
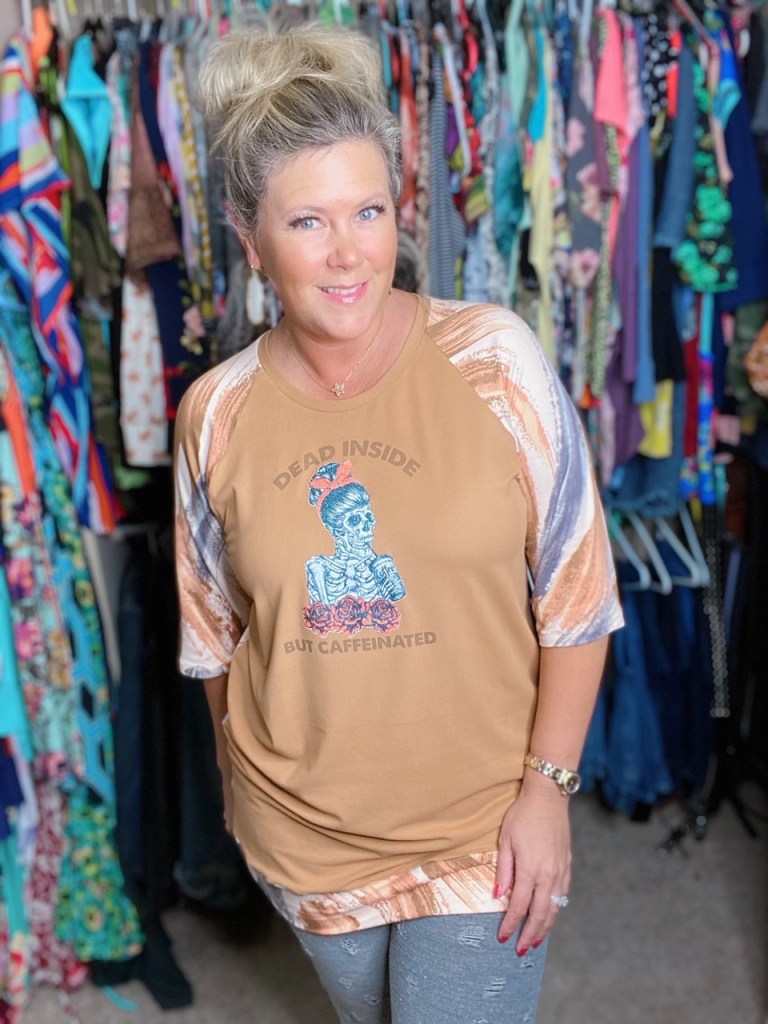
Relaxed Raglan paired with my favorite destressed Peg Legs. 
A girl can never have too much LEOPARD!!!!
P4P Relaxed Raglan pattern and Pirate Peg Legs can be found here: https://www.patternsforpirates.com/product/relaxed-raglan/ https://www.patternsforpirates.com/product/peg-legs/
